The fishkeeping hobby is a wonderful way to spend your time. Not only can it be a magnificent decoration for your home, but it could also actually prove to be very beneficial for your health. However, for many people, this hobby can be quite expensive.
Thankfully, nowadays there are many workarounds. With an abundance of relatively cheap materials making an aquarium at home could be easier than you think. Together we will look at what it takes to build a good tank from scratch.
We will take a look at what you might need, discuss some common issues and mistakes, and will go through a short step-by-step guide. Building a fish tank yourself can truly be one of the most rewarding things this hobby can offer.
So definitely keep on reading and learn all the ins and outs of aquarium DIY!
Know Your Aims
When building a fish tank it is very important to consider the different types right from the beginning. Knowing whether yours is going to be a small freshwater one or a large reef tank really helps.
It will allow you to prioritize some materials over others as well as to outline the tank set up early on. This can also help you when decorating and save money on extra parts. Generally, just try to visualize what you’re going for at the start. It makes everything clearer.
This also helps with more subtle things, like the thickness of glass you’re going to use or substrate heating. The aquarium stands you will be used also depends on your desired volume.
Choosing the Right Glass
The glass is probably the most important component of any fish tank. This is why choosing the right one is so crucial. For the purposes of this discussion, we’ll just assume that you’re going for a simple 20-gallon freshwater tank.
In this case, you might use ordinary plexiglass. It is pretty common and can be bought at almost any construction store. Moreover, it is flexible, strong enough to support aquariums smaller than 25 gallons, and can be easily worked on.
Unfortunately, for larger fish tanks plexiglass isn’t the best choice and can also become stained when some chemicals are used. The plexiglass, however, comes in many variations so it is better to consult with the seller and find out whether it could hold together your aquarium.
If you would like to build a very large tank, your best choice is stained glass. It doesn’t offer as much flexibility as acrylic or plexiglass, but it is thick enough for even the largest volumes. It doesn’t scratch easily, does not require a lot of maintenance, and tends to hold up pretty well over time.
Now that you have chosen the right type of glass, we must talk about its thickness.
Often aquarium glass is divided into three categories based on size.
- 0.2 inches thick and up to 12 inches tall
- 0.4 inches thick and 12-24 inches tall
- 0.8 inches thick and 24-32 inches tall
Following these general ratios can help you easily pick the right size of glass walls for your aquarium and make sure that they are strong enough to deal with the water pressure.
Choosing Dimensions and Instruments
When you’ve figured out what glass to go for, it’s time to prepare it for assembly. There are two ways that you can go around this. First, you can have your glass cut by a specialist and in this case, you’d simply need to put everything together. Just tell them what size you want and double-check that everything is right.
If you choose to do it yourself, however, make sure that you use the right tools for the job as not to damage the aquarium or injure yourself. Consider buying either a quality corundum glass cutter or a roller-cutter.
Regardless of what you choose, there are some things that you should keep in mind though.
Always remember that the glass walls must stand on the base and not just attach to the sides. This helps ensure stability and prevent leaks.
The walls of a fish tank come in pairs, so the dimensions of each pair should be the same. The front and back wall are usually the same length as the base glass. Also remember that the sidewalls should be slightly shorter than the side of the base glass, to which they will be attached. This is to leave enough space for assembly.
Now before we discuss the next steps, let’s quickly go through the instruments you would need for the job. The majority of the tools needed to build an aquarium are commonplace in almost any household. They include strong duct tape, scraper with a blade, paper tissues, scissors, and cleaning wipes.
In addition, you would require some of the more specialized equipment, like an aquarium silicone, silicone gun dispenser, and some sandpaper. Make sure that the silicon you use as the sealer is 100% hermetic and can be used in aquariums.
Cutting the Glass Yourself
While cutting glass we recommend wearing gloves to avoid cuts or leaving prints on the glass. Also, take a ruler and place it along the desired path, it will serve as a guide when cutting.
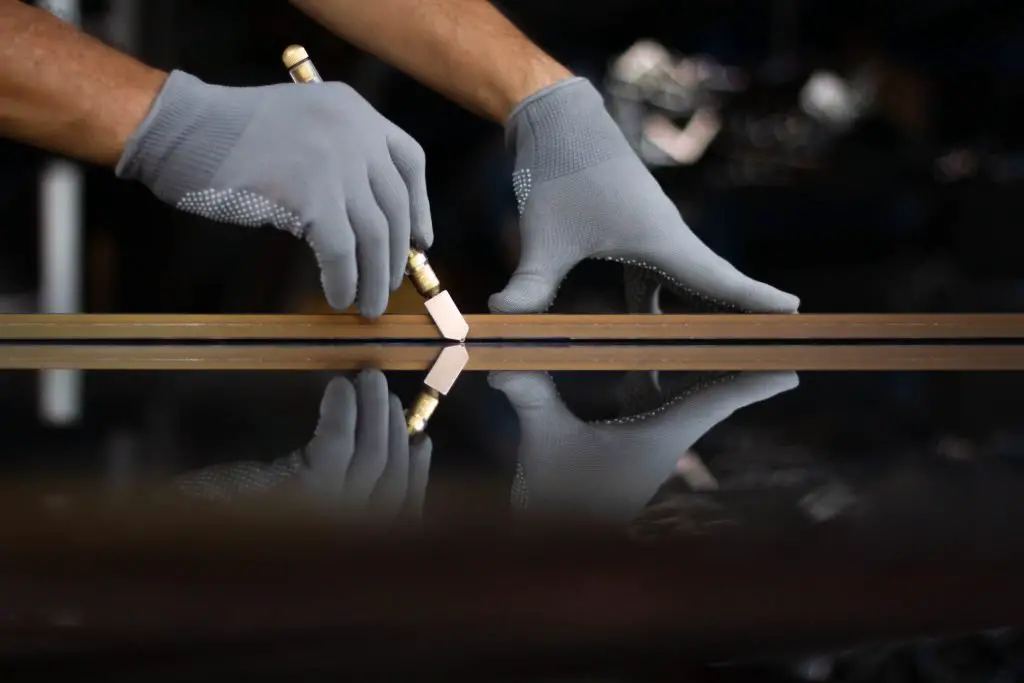
Start off by pushing moderately strong on the glass cutter and smoothly moving it without stopping. Make sure not to bang on the glass when it is about to break away, instead firmly and confidently push it down with one strong move. For example, you can use the side of a table to help you with that.
Assembling the Tank
With all the preparation out of the way, we finally get to the most exciting part.
The first step in building a good tank would be to neatly arrange and align all of the tank walls. The base should have the tank placed in the center with corresponding walls along the sides. Also, consider placing a foil/paper underneath to avoid any mess.
Use the sandpaper to smoothen any edges or irregularities on the glass. You’re not aiming for a perfectly polished glass but rather something that won’t cause any issues and will be able to stand flat on the base panel.
Next, the top of the glass should be thoroughly cleaned wet or sanitizing wipes. Alternatively, simply soak normal paper wipes in alcohol and wipe the glass. Pay attention to the edges of the glass, as even the small pieces of dirt can cause the seal to detach.
Before sealing up the walls of the tank, place the duct tape around the edges to avoid the silicon sticking on the glass itself. It would also help you to be a little more accurate with the application, acting as a sort of guide.
Now it’s time to bring everything together! However, don’t apply the silicon to all of the sides simultaneously. Deal with one side first and then go on to the next one, that way any mistakes are much easier to correct.
Using a gun dispenser, make a thin line of silicone along the edge of two walls, although it may seem a bit excessive. If you’ve never used something like a silicon gun dispenser or a hot glue pistol, you want to practice on a piece of paper first to avoid wasting any materials.
Once the silicon is in place, lift up the glass, and firmly push it down. It may be a bit unstable because the first one won’t be supported by anything else other than the silicon sealing. You can gently push something against it for some additional stability.
Using the same technique, attach all of the next glasses, firmly securing them against each other and making sure that nothing is loose. If you accidentally get silicon on the area of a glass that’s supposed to be clear, simply take it off using a scraper and continue.
When you’re done remove the duct tape and clean the glass if needed. Allow some time for the silicon to become completely fixed and harden. The time needed depends on the type of silicon you used, just check the manufacturer’s instructions.
You may also want to stick the duct tape along the edges of a finished tank while waiting for the silicon to harden. After enough time has passed, remove all duct tape and clean the glass of excessive silicon where required.
For added security, we recommend leaving the aquarium stand for a day to make sure that it holds up well. During that time don’t move or touch it, the safer it will be.
Technically, in this state, the aquarium is also wonderfully fine and can be used right away. However, you can give it a couple of magic touches to slightly improve it.
For example, using small metal clips attach a thin piece of cardboard to the base. That way you’ll avoid scratches and also help keep the base of the tank warm. Alternatively, you might want to do exactly the same with the back-glass panel.
Some people prefer to put a colored piece of cardboard or a print to create an atmosphere in the tank. If you are fine with what you have, however, let’s take a look at some of the other DIY solutions for the aquarium interior.
What if My Tank Needs a Lid
Absolutely no problem here. If you require a lid for your tank, simply make it smaller than the base of the tank. Then use the same metal clippers as previously mentioned or plastic stands to secure in on top. That is if you need a glass lid.
In case of a plastic cover, it’s better to just find a lid that would fit your tank dimensions. If you can’t, put together the suitable pieces of plastic, much like you did with the aquarium itself.
Fixing Mistakes
Despite all the efforts and desired accuracy, mistakes inevitably happen from time to time. You can easily find that after finishing building your aquarium some strange bubbles appear in the seals or the water is slowly leaking.
The leaks are by far one of the most common issues an aquarium owner might face. If you find water leaking from one of the corners in the tank, simply empty the aquarium and seal it back from the outside.

If the leakage didn’t stop, you might have to take the tank apart and re-do the sealing. Before that just clean the edges with alcohol and apply the silicon as usual.
In case the leak happens in only a certain place, you might consider just cutting out the piece of hermetic material where the problem is and filling it up again to see if that helps.
The bubbles forming along any of the sealings might not necessarily mean something bad. If you don’t see water leaking, everything is fine as this is simply the air trapped during silicon application. If you are worried, however, you might need to reapply the hermetic sealing.
Some Final Advice
Although enthusiasm in fishkeeping is widely encouraged, when it comes to building your own tank it may be safer to start off small. Before jumping straight to putting together a large tank, try your hand at building a small 10-gallon aquarium.
It will help you get to grips with what the process requires and how things should come together. Smaller aquariums also tend to be more forgiving if you make a mistake and you’ll be able to easily correct any of the mistakes.
Try to avoid an overly tall or long aquarium. The larger the volume, the harder it becomes to create an efficient ecosystem in a fish tank. They would require a very powerful filtration system, heating, lighting, and plenty of maintenance.
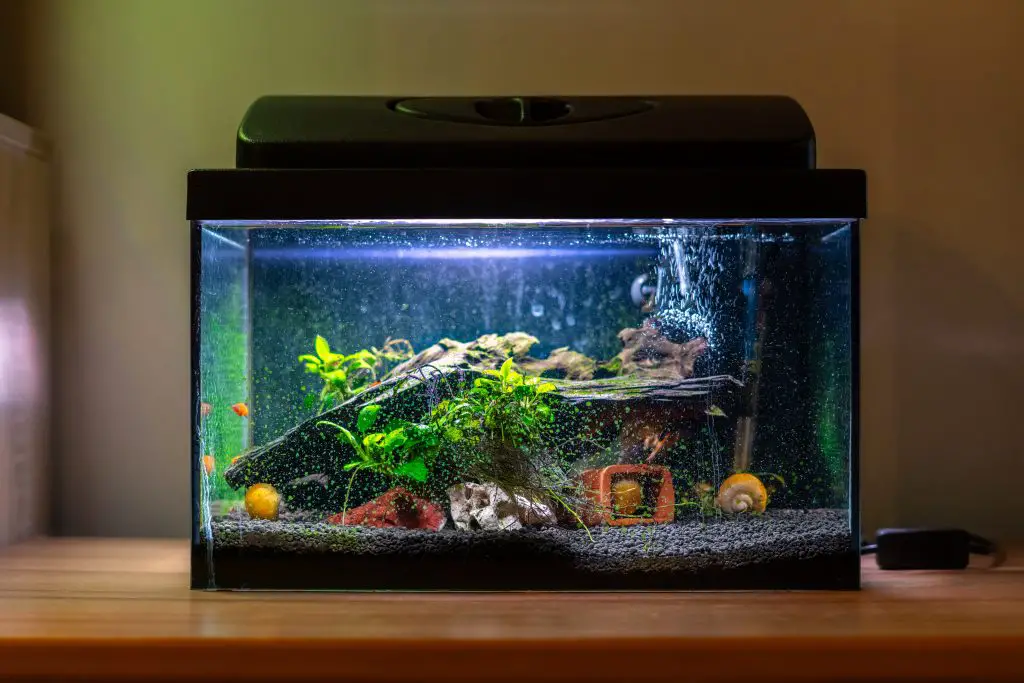
So unless you know what you’re getting yourself into, stick to smaller and motile tanks.
Although in our guide we have stuck with placing all-glass walls directly on top of the base, there is a second way. Instead of placing them on top, you can attach the glass panels around the base. If you feel like this would be easier for you, feel free to do this.
Summary
Building your own fish tank is not only very rewarding but can save you a pretty penny as well. It may seem very complicated, but in reality, if you are armed with patience and motivation there isn’t an easier task.
There is plenty of creativity involved in building an aquarium at home, allowing you to experiment with shapes, setups, and materials. When it comes to building a simple rectangular tank, any fishkeeper shouldn’t have any issues, regardless of experience.
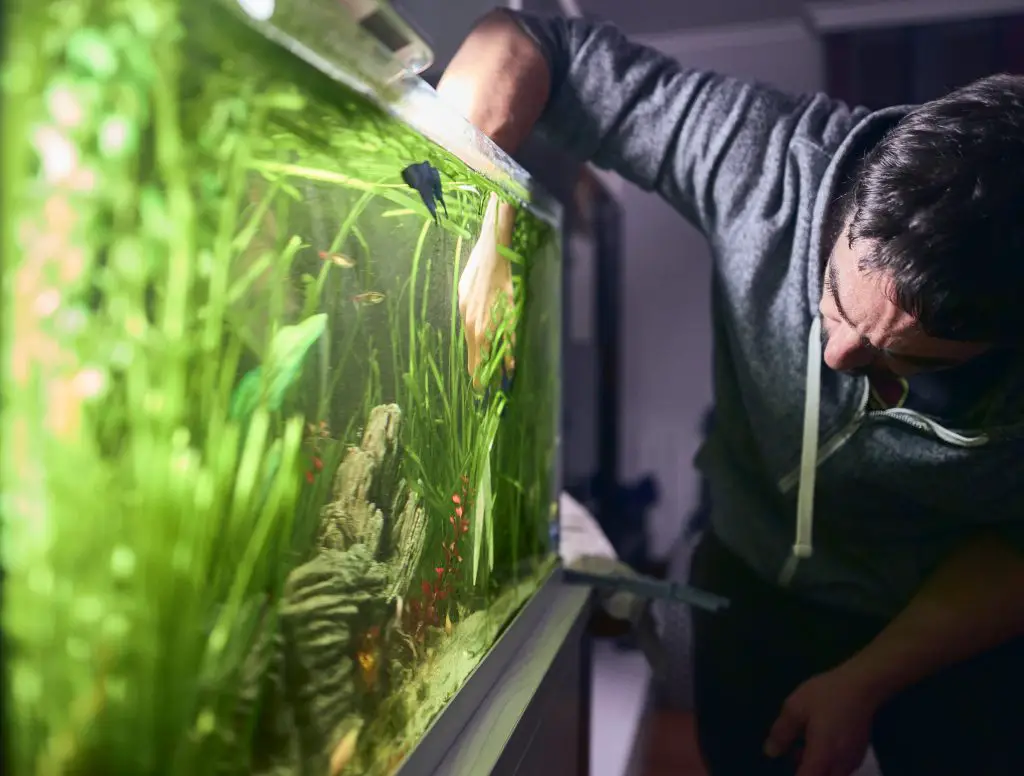
Just make sure to closely follow the instructions, plan ahead, consider your preferences, and use the right tools. You’ll then quickly find that there is no better feeling than filling up your homemade tank for the first time!
Have you ever built a fish tank yourself? If so, how did you do it? Let us know in the comments section below…



Be the first to comment